DIY – Wash Your Bike
Whether you’ve been purposefully riding in the recent rains, or just got caught out in it, your bike is likely pretty filthy. Spray off passing vehicles and other riders, road grime, lube coming off your chain, and the rain itself, not to mention dirt and mud from areas like the hike and bike trial, can all lend to a pretty dirty bike. Add to that just normal wear, and maybe the fact that your bike was needing a wash before the rains, and now you’re looking at a bike that really needs some TLC.
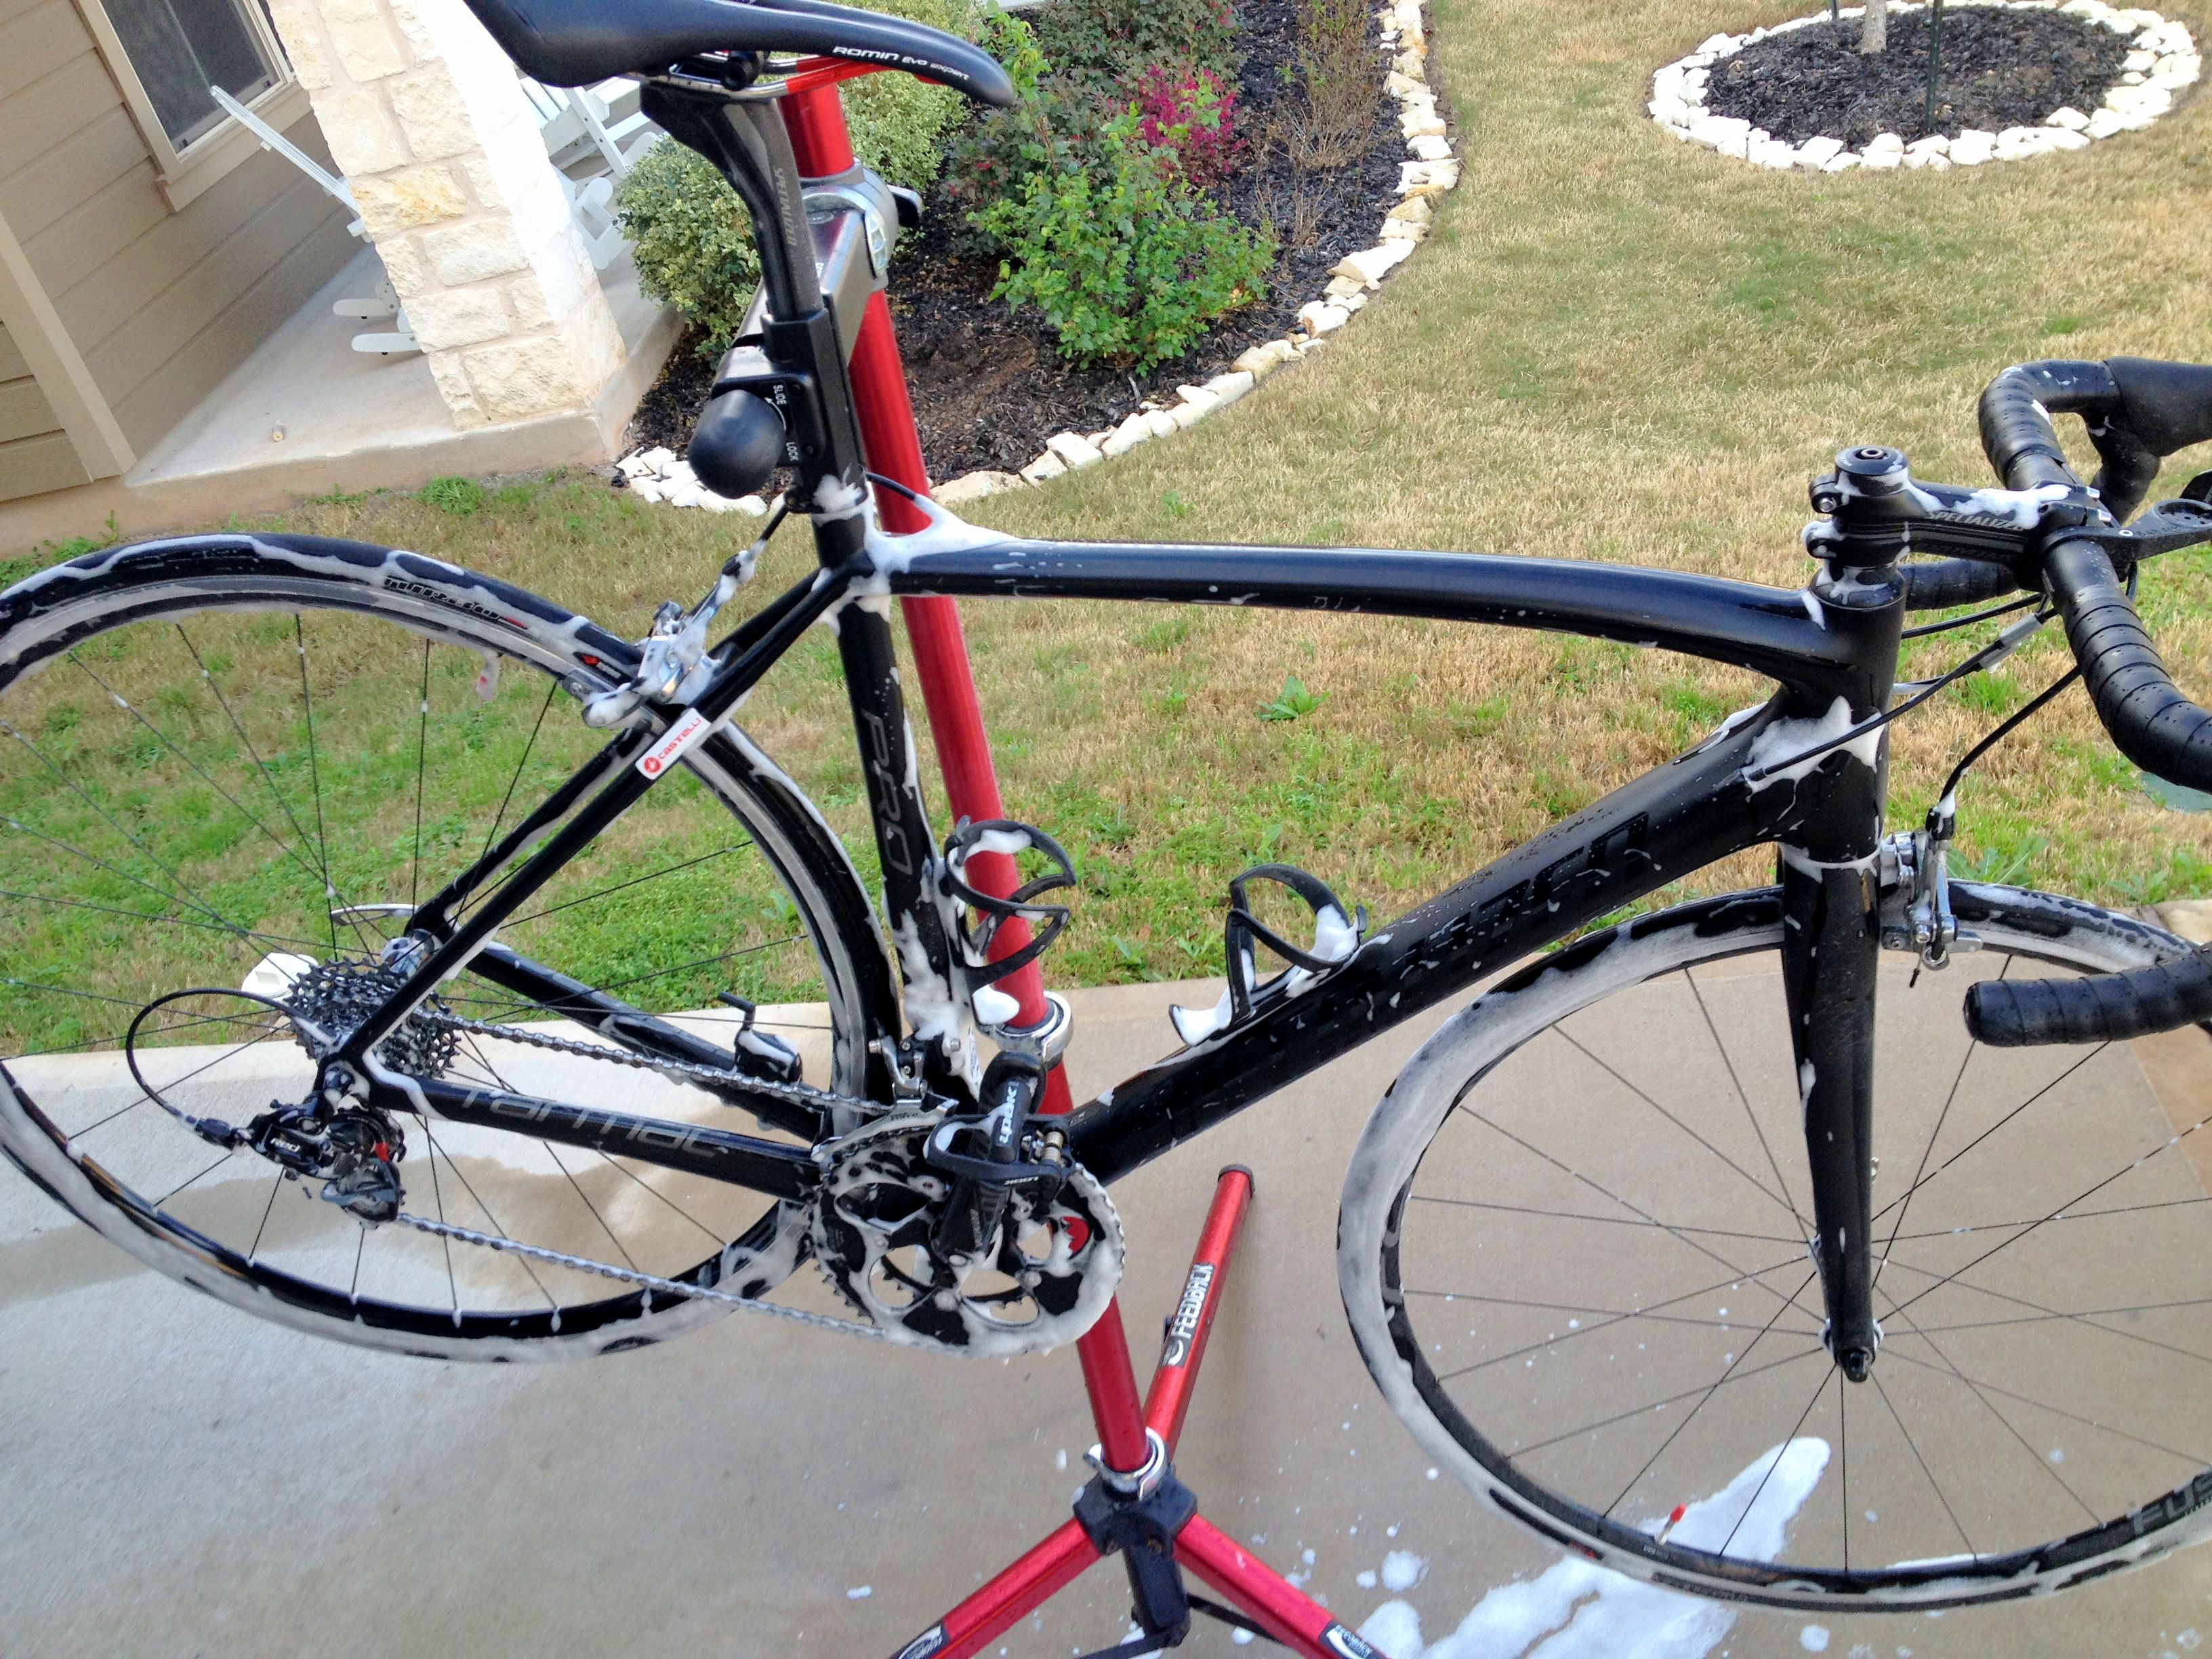
A clean bike is a happy bike!
One easy fix, especially if you’ve got other issues aside from dirt build-up on your bike that need to be taken care of is to schedule a tune up with our service department. We’re running our Winter Service Specials through the end of February (next Thursday). So there’s still time to save a few bucks getting your bike running–and looking–new.
But if you’re just in need of a quick clean, but have never done it before or not sure of a good way to approach it, here are a few quick pointers.
The right tools for the right job.
There are a few pieces of equipment you’re going to need:

Depending on the bike’s condition, you’ll also need some amount of elbow grease.
1. A bike stand. It is much easier to wash your bike when it is in a stable stand–like those from Feedback Sports–than it is when it’s leaning against a wall. If you don’t have a stand, a tree with a strong, low branch works too. Simply hand the bike from the branch by the bike’s saddle. Not quite as sturdy, but much easier on the back. Another option is to use your bike rack on your car if it’s readily reachable, like on a hitch rack. The Kuat NV model actually has a bike stand built in!
2. A bucket.
3. Sponges and brushes. While I mostly simply use a sponge, Park Tool makes an excellent variety of brushes specifically designed for certain parts of your bike. My favorite brush though is an old toothbrush–perfect for cleaning the drivetrain (more on that later).
4. Degreaser and soap. A simple citrus based degreaser is perfect for cleaning drivetrain parts like the chain, cassette, and derailleur pulleys. Options abound for degreasers and we’ve got a fair selection in our service department. For soap, a simple dish soap works great.
5. Water and water hose.
6. Towels and a polish of some sort. Professor Al of Bicycle Sport Shop University swears by Lemon Pledge. I’m a Windex guy myself although I also like Bike Lust–great for helping making the saddle on your CX bike nice and slippery for easy remounts!
7. Chain lube. Which lubes for which bikes for which conditions is a topic for another blog post. Or perhaps a book. Suffice to say, ANY quality lube is better than none, so pick your poison so to speak.
8. Your dirty bike. (Or a friend’s if you owe them a favor.)
The procedure.
After hanging your bike in the stand, drivetrain side facing out, take your drivetrain brush (the toothbrush for me) and coat the bristles in degreaser. For really filthy cassettes and chains, you can spray some on the cassette as well. Take the brush and clean the cassette as you spin the wheel backward, using the brush to help move the cassette along. As you go, also clean the chain as it comes across the cassette. Give the derailleur pulleys a brush as well. You don’t need to be able to eat off the drivetrain, but you do want to get the bulk of any build up off the the drivetrain. After all, we’re cleaning here.

Even a quickly cleaned drivetrain can improve performance.
Take your hose and spray the bike down, taking care to rinse the drivetrain well. You’ll hear everyone tell you not to power wash your bike or spray bearing points (headset, bottom bracket, derailleur pulleys, suspension components, etc.) directly. Modern bikes’ use of sealed cartridge bearings doesn’t necessarily eliminate the concern of doing that–i.e., blowing out grease and pushing in grime–but it’s a lot harder to ruin those components these days than it used to be. Still, an ounce of prevention is worth a pound of cure, so the careful washer takes care. Pro mechanics may power wash bikes at big races, but those riders have bearing sponsors.
Now grab your sponge, get it wet, put some dish soap on it, and go to town! (You can also fill the bucket with water and a little soap, but I find the soap-on-wet-sponge approach works for me and uses less water ultimately.) When soaping up your bike, start at the top and take care to wipe down the frame’s underside as well the inside of the seat and chain stays and the inside of the fork when you get to those areas. Time permitting, the best way to go about it is to remove the wheels for separate cleaning, using the same technique. But sometimes you just need to do a quick clean. You’ll also want to wipe down the wheels, taking care to clean the braking surface for bikes with rim brakes, and the tires. Similarly, you can wipe the chain down again taking your sponge in your left hand and cupping the section of the chain closest to the ground in it and using your right hand to slowly back pedal the crank to move the chain along.
As you’re cleaning, you’re not only wiping dirt and grime off your beloved bicycle, you’re also inspecting it. Inspecting the frame for nicks or damage, inspecting the rims for wear or dents, inspecting the tires for cuts, debris, or wear, same thing for brake pads, and every other part of the bike. Yes, you’re cleaning. But you’re also looking for things that might ruin your next ride so that you can fix them now before they are a real problem out on the road or the trail.
After cleaning, rinse the bike well, taking care to get all the soap off. Remember, no need to blast it clean. But you do want it throughly rinsed.
With your sparkly, yet damp, bike now ready to be dried, take a dry, soft cloth and begin to dry working from the top down. As you dry, you’re continuing your inspection, making sure that nothing that could have been hidden by dirt or bubbles was missed.
Once dry, take a second dry, soft cloth and your polish–be it Bike Lust, Windex, or Lemon Pledge–and put a little on the cloth and wipe the frame down.

Before: top. After: bottom.
Finally, with the chain on a gear near the middle of the cassette, hold your lube in your left hand with the nozzle just above the chain where it sits on the cassette and slowly apply the lubricant to the chain as you spin the crank backwards to move the chain along. A few revolutions of the crank should get the chain coated. Follow your specific lube’s instructions for wiping excess lube off, but be sure to wipe it off before your next ride regardless to remove excess surface lube, which will just attract more grit and grime.
You’re ready to ride your clean bike! Put your cleaning gear away and rest easy in the knowledge that you’ve just guaranteed a rainy ride within the week!
